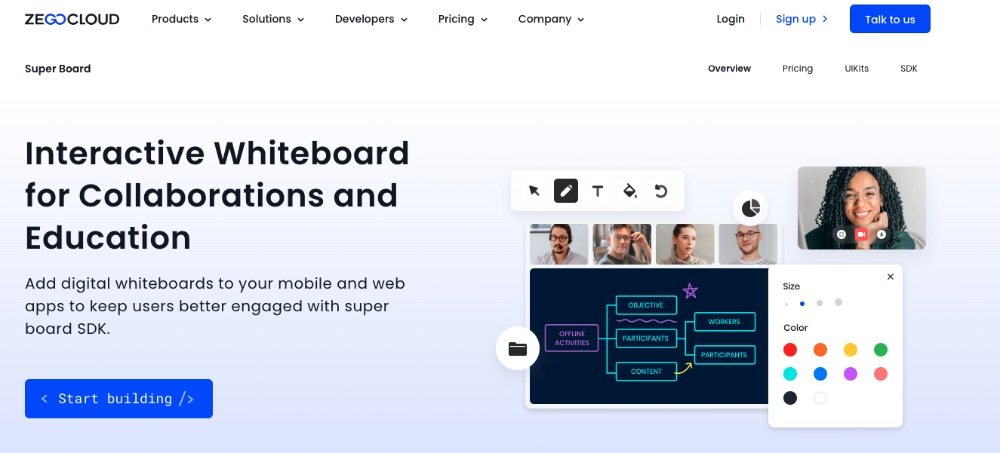
Whiteboard drawing is an essential tool for effective presentations, brainstorming sessions, and online collaborations. Wondering how to draw on a whiteboard? With ZEGOCLOUD whiteboard SDK, you can easily integrate whiteboard drawing functionality into your web or mobile application. Whether you want to create flowcharts, diagrams, or just doodle, ZEGOCLOUD SDK offers an intuitive and user-friendly solution.
Easy Whiteboard Drawings with ZEGOCLOUD Whiteboard SDK
Effective communication is key to success in various fields such as education, business, and more, and whiteboard drawings play a crucial role in achieving this goal. ZEGOCLOUD Whiteboard SDK, also known as Superboard SDK, provides an effortless way to integrate whiteboard feature into your web or mobile application.

Here, we’ll explore the powerful features of this tool and guide you on how to create impressive whiteboard drawings in a matter of minutes.
1. Easy Integration
ZEGOCLOUD Whiteboard SDK offers an intuitive and easy-to-use solution for adding whiteboard drawing functionality to your app. Its user-friendly interface and flexible APIs make integration a breeze.
2. Real-time Collaboration
With ZEGOCLOUD Whiteboard SDK, you can enable real-time collaboration among multiple users, allowing for seamless communication and teamwork.
3. Customizable Brushes
The SDK provides a variety of customizable brushes, including different sizes, colors, and opacities. This allows you to create unique and stunning drawings with ease.
4. Multiple Layers
ZEGOCLOUD Whiteboard SDK supports multiple layers, allowing you to organize your drawings and make changes easily without affecting the rest of your work.
5. Undo/Redo Functionality
The SDK comes with an undo/redo function, which enables you to correct mistakes quickly and efficiently.
6. Export to Various Formats
You can export your whiteboard drawings in various formats, including PNG, JPEG, and SVG. This makes it easy to share your work with others or integrate it into other applications.
7. Cross-platform Compatibility
The SDK is compatible with both web and mobile platforms, making it accessible to a wider audience.
How to Draw on Whiteboard with ZEGOCLOUD SDK
Learn how to bring your ideas to life with the ZEGOCLOUD SDK’s whiteboard drawing functionality. In this section, we’ll guide you step-by-step on how to use this intuitive and user-friendly tool to create stunning diagrams, flowcharts, and more. Get ready to unleash your creativity and elevate your presentations to the next level.
Preparation
- Create a ZEGOCLOUD developer account – Sign up
- A computer with modern web browsers and multimedia support
- Basic understanding of web development
- Get appID, appSign, and Server URL by creating a project in the ZEGOCLOUD console.
Drawing on a whiteboard with ZEGOCLOUD SDK is as simple as integrating and configuring ZEGOCLOUD’s Super Board SDK. Follow the steps below to integrate and set the SDK to make your presentations more lively:
1. Download the SDKs
Getting the ZegoSuperBoard SDK and ZegoExpress-Video SDK is a hassle-free task through NPM. Execute the code below to acquire these essential SDKs and unlock their potent capabilities.
npm i zego-superboard-web

npm i zego-express-engine-webrtc
2. Integrate the SDK
Easily integrate ZEGOCLOUD’s Super Board SDK into your project with this JS code.
import { ZegoSuperBoardManager } from 'zego-superboard-web';

import {ZegoExpressEngine} from 'zego-express-engine-webrtc'
3. Instantiate the SDKs
Initialization is a crucial step in unlocking the full potential of the two SDKs added via NPM.
ZegoExpress-Video SDK
Initialize the ZegoExpressEngine class with your AppID and Server URL obtained from the ZEGOCLOUD Admin Console.
// Initialize the ZegoExpressEngine instance
const zg = new ZegoExpressEngine(appID, server);
ZegoSuperBoard SDK
Get ZegoSuperBoard instance via getInstance in ZegoSuperBoardManager and initialize the SDK by calling init method with ZegoExpressEngine instance.
<!-- Parent container to be mounted to -->
<div id="parentDomID"></div>
// Obtain the ZegoSuperBoard instance.
zegoSuperBoard = ZegoSuperBoardManager.getInstance();
// Initialize ZegoSuperBoard.
const result = await zegoSuperBoard.init(zg, {
parentDomID: 'parentDomID', // D of the parent container to be mounted to.
appID: 0, // The AppID you get.
userID: '', // User-defined ID
token: '' // The Token you get that is used for validating the user identity.
});4. Monitor event callbacks
Customize event callbacks to suit your app by monitoring error notifications, remote addition/deletion, and switching of whiteboard files after initializing SuperBoard.
// Callback of the listening-for error.     zegoSuperBoard.on('error', function(errorData) {
        // Error code, error prompt
        conosole.log(errorData.code, errorData.message)
    });

// Monitor paging and scrolling in the whiteboard via event listeners.

zegoSuperBoard.on('superBoardSubViewScrollChanged', function(uniqueID, page, step) {

    });
// You can listen for the remote operation of zooming in or out on a whiteboard.

zegoSuperBoard.on('superBoardSubViewScaleChanged', function(uniqueID, scale) {

    });

// Remote whiteboard addition event listener.

zegoSuperBoard.on('remoteSuperBoardSubViewAdded', function(uniqueID) {

    });

// Monitor the remote whiteboard destruction operation.

zegoSuperBoard.on('remoteSuperBoardSubViewRemoved', function(uniqueID) {

    });

// Listen for remote whiteboard switching.

zegoSuperBoard.on('remoteSuperBoardSubViewSwitched', function(uniqueID) {

    });
// Listen for remote Excel sheet switching.

zegoSuperBoard.on('remoteSuperBoardSubViewExcelSwitched', function(uniqueID, sheetIndex) {

    });

// Listen for remote whiteboard permission changes.

zegoSuperBoard.on('remoteSuperBoardAuthChanged', function(data) {
        console.log(data.scale, data.scroll)
    });

// Listen for remote whiteboard element permission changes.

zegoSuperBoard.on('remoteSuperBoardGraphicAuthChanged', function(data) {
        console.log(data.create, data.delete, data.move, data.update, data.clear)
    });
5. Log in to a room
Use the loginRoom method with roomID, token, userID, and userName parameters to access a room. A configuration object can also be provided. If roomID is non-existent, a new room will be created, and login will occur automatically.
const result = await zg.loginRoom(roomID, token, {userID, userName}, {userUpdate: true});6. Create a whiteboard
The Super Board SDK has two types of whiteboards: common and file-based. Common whiteboards can be created by specifying width, height, and number of pages, while file whiteboards are created based on existing files. Successful login is required before creating a whiteboard. Note that a maximum of 50 whiteboards can be created in a room; use the querySuperBoardSubViewList method to determine the current number of whiteboards.
Create a common whiteboard
const model = await zegoSuperBoard.createWhiteboardView({
    name: '', // Whiteboard name
    perPageWidth: 1600, // Whiteboard page width
    perPageHeight: 900, // Whiteboard page height
    pageCount: // Page count of a whiteboard
});
Create a file whiteboard
To create a file-based whiteboard, retrieve the fileID of the file first. Please consult Shared File Management for instructions on how to upload the file.
// Whiteboard creation requires successful login to a room.

const model = await zegoSuperBoard.createFileView({
    fileID // fileID of a file, which is the unique identifier returned after a file is successfully uploaded.
});
7. Mount the current whiteboard
After logging in to a room with an existing whiteboard, use querySuperBoardSubViewList and switchSuperBoardSubView APIs to mount it to the parent container.
// Obtain SuperBoardSubViewList.
const superBoardSubViewList = await zegoSuperBoard.querySuperBoardSubViewList();

// Obtain SuperBoardView.
const superBoardView = zegoSuperBoard.getSuperBoardView();

// Obtain the current SuperBoardSubView.
const zegoSuperBoardSubView = superBoardView.getCurrentSuperBoardSubView()

// Obtain the model corresponding to SuperBoardSubView.
const model = zegoSuperBoardSubView.getModel();

// Obtain a uniqueID of the whiteboard to be mounted.
const uniqueID = model.uniqueID;

// Get the file type and obtain sheetIndex for Excel whiteboard.

let sheetIndex;
const fileType = model.fileType;
if (fileType === 4) {
    // Excel whiteboard
    const sheetName = zegoSuperBoardSubView.getCurrentSheetName();
    // Retrieve the list of sheets for the current Excel file.
    const zegoExcelSheetNameList = zegoSuperBoardSubView.getExcelSheetNameList();
    // To get the sheetIndex from zegoExcelSheetNameList, use the corresponding sheetName.
    sheetIndex = zegoExcelSheetNameList.findIndex(function(element, index) {
        return element === sheetName;
    });
}

// Mount the current whiteboard.
const result = await superBoardView.switchSuperBoardSubView(uniqueID, sheetIndex);
8. Verify whiteboard creation
Make sure to test the project by logging into the same room ID from multiple devices. Draw on one device using the ZegoSuperBoardView, and watch as the drawing is mirrored on the ZegoSuperBoardView of the other device.
9. Destroy a whiteboard
The ZegoSuperBoard SDK switches to another whiteboard automatically when the current one is destroyed.
const result = await zegoSuperBoard.destroySuperBoardSubView(uniqueID)Run a Demo
If you’re interested in adding whiteboard capabilities to your app, please check out the sample demo!
Conclusion
The ZEGOCLOUD SDK offers powerful and flexible features for drawing on whiteboards. By following the simple steps outlined in this guide, you can easily integrate the ZEGOCLOUD SuperBoard and video call SDK into your project, create and manage whiteboards, and customize event callbacks to meet your application’s needs. With its seamless collaboration across multiple devices, the ZEGOCLOUD SDK is a great tool for real-time drawing and brainstorming sessions.
Read more:
Let’s Build APP Together
Start building with real-time video, voice & chat SDK for apps today!


