Use with Call Kit
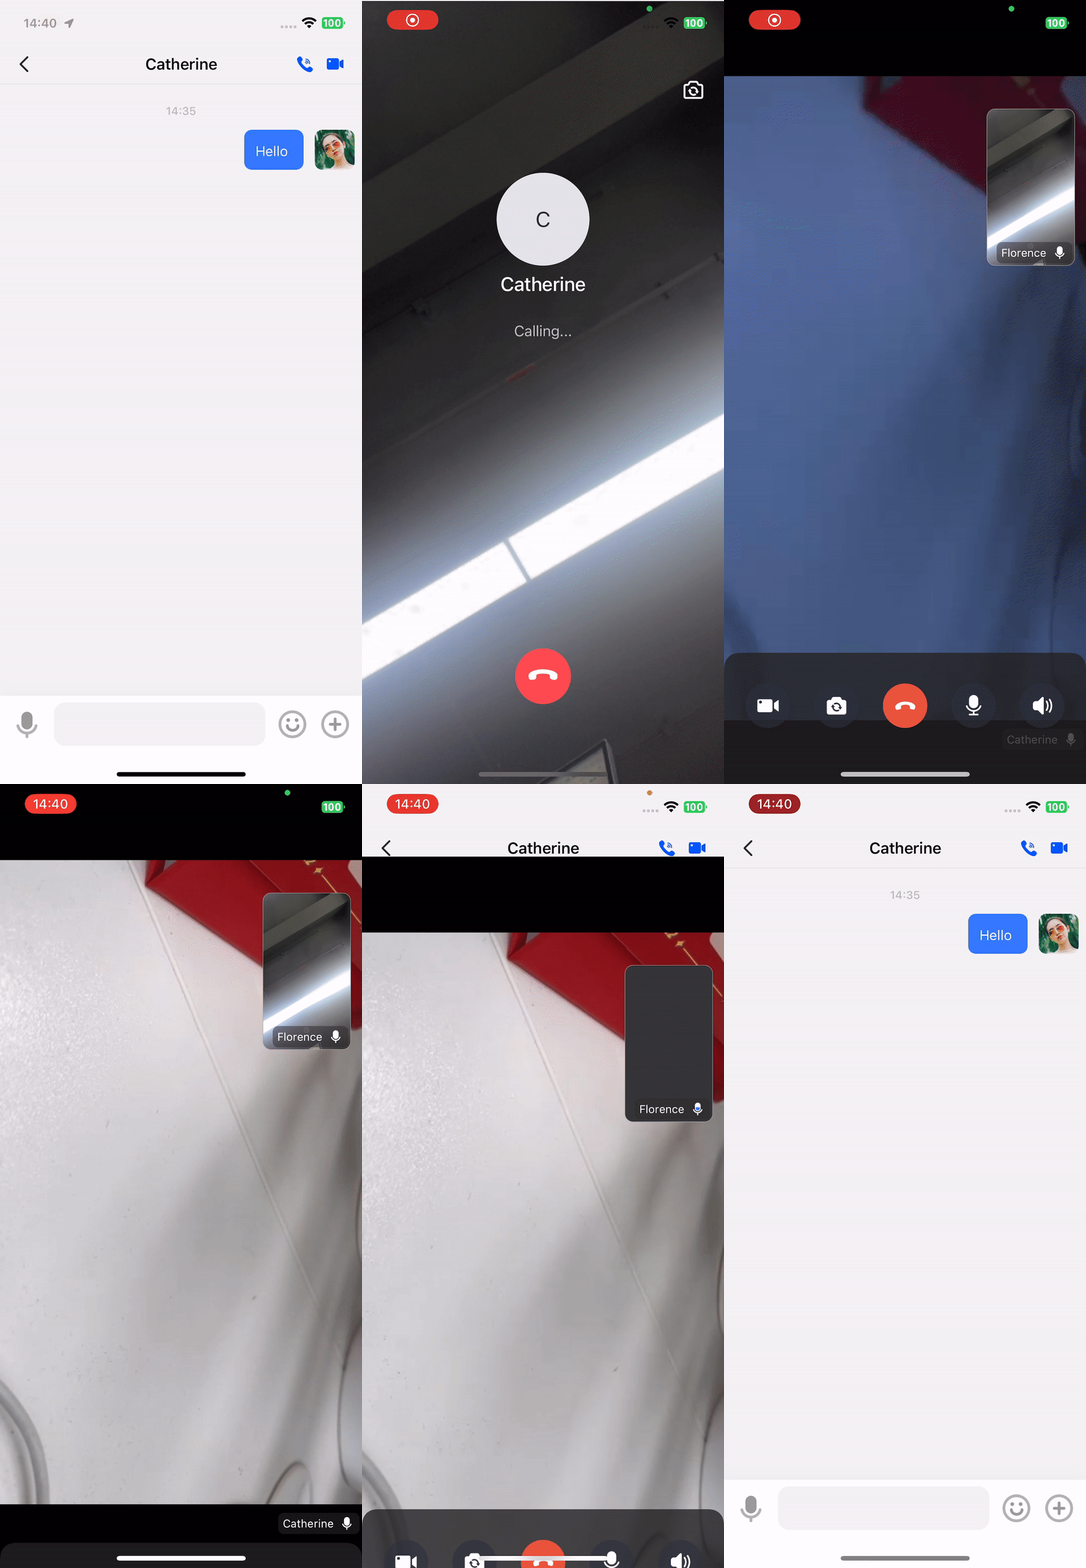
This doc will introduce how to use In-app Chat Kit with Call Kit.

Implementation Process
1
Integrate In-app Chat Kit
Please refer to Quick start to integrate the In-app Chat Kit. If it has already been integrated, you can ignore this step.
2
Integrate Call Kit
Please refer to the Call Kit Quick start (with call invitation) to integrate the Call Kit.
3
Initialize Call Kit
- Edit the
Podfilefile to add basic dependencies:
Untitled
pod 'ZegoUIKitPrebuiltCall', '>= 2.12.1'
1
- Edit
Info.plistfile and add the following:
Untitled
<?xml version="1.0" encoding="UTF-8"?>
<!DOCTYPE plist PUBLIC "-//Apple//DTD PLIST 1.0//EN" "http://www.apple.com/DTDs/PropertyList-1.0.dtd">
<plist version="1.0">
    <dict>
        <key>NSCameraUsageDescription</key>
        <string>Application needs to use your camera to achieve video calls and photos.</string>
        <key>NSMicrophoneUsageDescription</key>
        <string>Applications need to use your microphone to achieve audio and video calls and voice messages.</string>
    </dict>
</plist>
1
- Initialize the audio and video call UIKit with
ZIMKitConfig:
AppDelegate.swift
import UIKit
import ZIMKit
import ZegoUIKitPrebuiltCall
import ZegoPluginAdapter

@main
class AppDelegate: UIResponder, UIApplicationDelegate {

    func application(_ application: UIApplication, didFinishLaunchingWithOptions launchOptions: [UIApplication.LaunchOptionsKey: Any]?) -> Bool {

        let appID: UInt32 = YOUR_APPID
        let appSign: String = YOUR_APP_SIGN
        let userID: String = YOUR_USER_ID
        let userName: String = YOUR_USER_NAME
        let resourceID: String = "resourceID"
        let config = ZIMKitConfig()
        // For the production environment, `isSandboxEnvironment` is set to false
        let call:ZegoUIKitPrebuiltCallInvitationConfig = ZegoUIKitPrebuiltCallInvitationConfig(notifyWhenAppRunningInBackgroundOrQuit: true, isSandboxEnvironment: true, certificateIndex: .firstCertificate)
        let callConfig: ZegoCallPluginConfig = ZegoCallPluginConfig(invitationConfig: call, resourceID: resourceID)

        config.callPluginConfig = callConfig
        // bottomConfig.expandButtons Provide two functional photos and files by default
        // bottomConfig.expandButtons Add sound, video call options
        config.bottomConfig.expandButtons.append(.voiceCall)
        config.bottomConfig.expandButtons.append(.videoCall)
        ZIMKit.initWith(appID: appID, appSign: appSign, config: config)
    }
}
1
- After successfully logging in to the In-app Chat Kit, add the following code to initialize Call Kit:
Untitled
let appID: UInt32 = YOUR_APPID
let appSign: String = YOUR_APP_SIGN
let userID: String = YOUR_USER_ID
let userName: String = YOUR_USER_NAME
ZIMKit.connectUser(userID: userID, userName: userName) { error in
    if error.code == .success {
        let config = ZegoUIKitPrebuiltCallInvitationConfig(notifyWhenAppRunningInBackgroundOrQuit: true, isSandboxEnvironment: false)
        ZegoUIKitPrebuiltCallInvitationService.shared.initWithAppID(appID, appSign: appSign, userID: userID, userName: userName, config: config)
    }
}
1
So far, you have successfully integrated Call Kit in the In-app Chat Kit. You can now run and experience it.
More resources
The above content only introduces the basic configuration required for integrating Call Kit. If you need to further customize the configuration of the call, refer to the following documents:
Call Kit - Quick start
The steps in this document will help you initiate a call quickly.
Call Kit - Custom prebuilt UI
This article guides you on how to further customize the features and UI of the call.

