

Quick start
This doc will guide you to integrate the In-app Chat Kit and start a chat quickly.
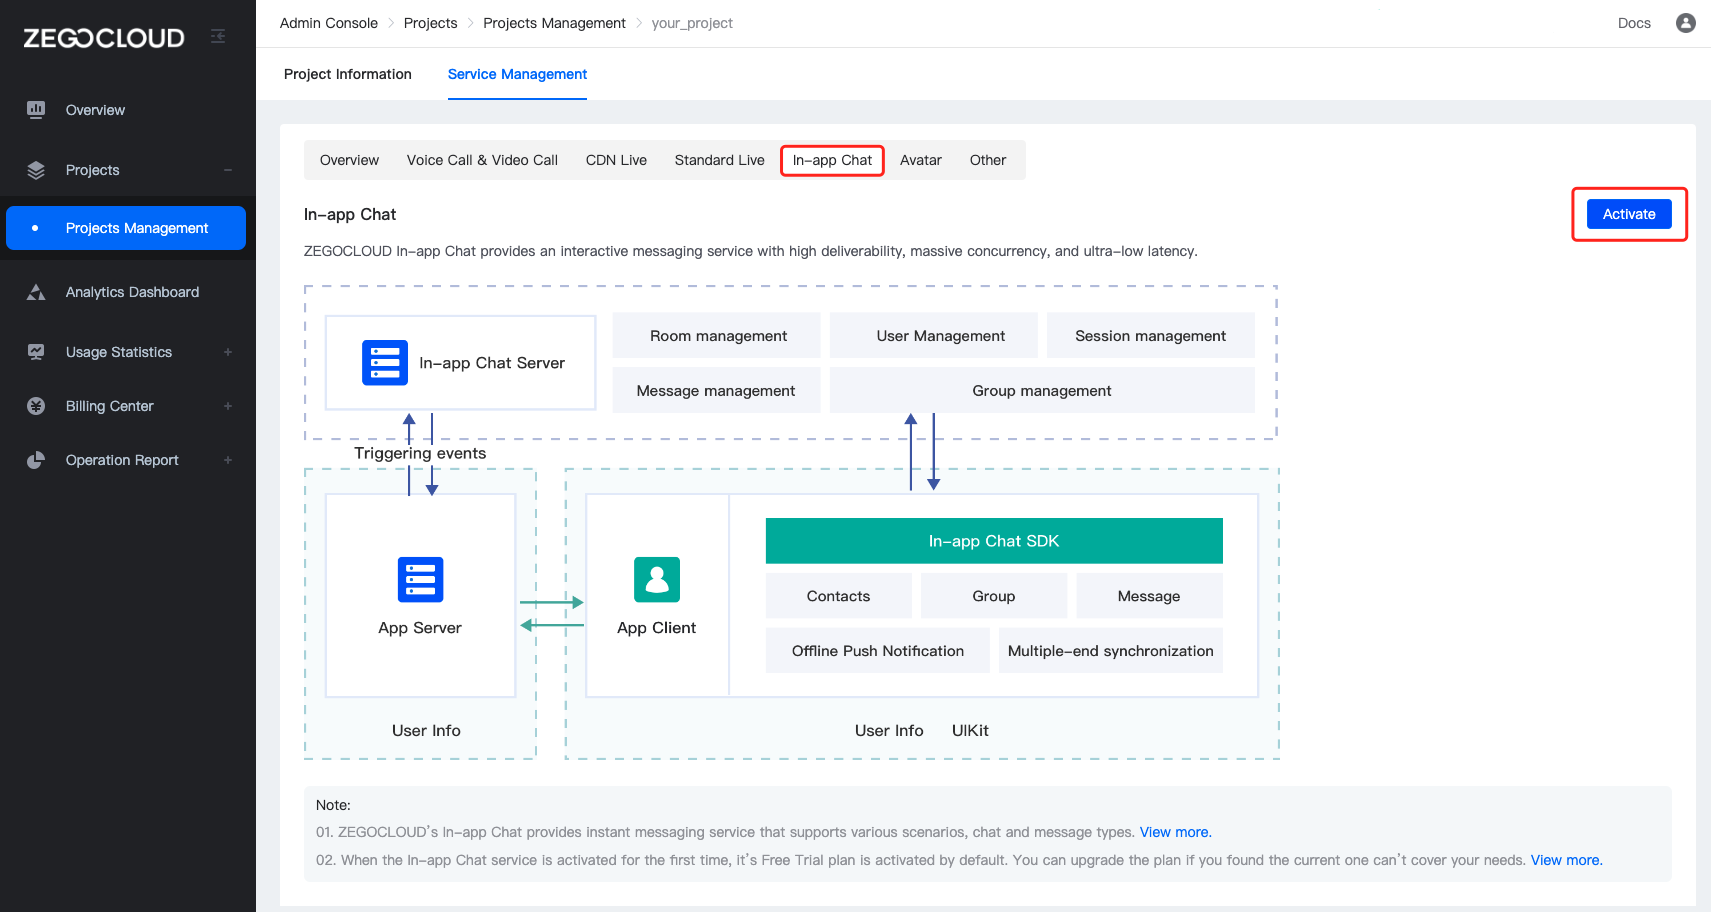
Prerequisites
- Go to ZEGOCLOUD Admin Console and do the following:
- Create a project, and get the
AppIDandAppSignof your project. - Activate the In-app Chat service.
- Create a project, and get the
Integrate the SDK
Add SDK dependencies
flutter pub add zego_zimkit
Integrate In-app Chat Kit into the project
- Create an instance and log in.
a. Call the init method to initialize the In-app Chat Kit SDK.
void main() {
  ZIMKit().init(
    appID: YourSecret.appID, // your appid
    appSign: YourSecret.appSign, // your appSign
  );
  runApp(YourApp());
}
b. Log in by calling the connectUser method with your user information. And the login only succeeded when the authentication passed.
You can customize rules to generate the user ID and user name. We recommend that you set a meaningful user ID. You can associate the user ID with your business account system.
ZIMKit().connectUser(id: id, name: name).then(_){
    Navigator.of(context).push(
        MaterialPageRoute(
            builder: (context) => const ZIMKitDemoHomePage(),
        ),
    );
}

class ZIMKitDemoHomePage extends StatelessWidget {
  const ZIMKitDemoHomePage({Key? key}) : super(key: key);

  @override
  Widget build(BuildContext context) {
    return WillPopScope(
      onWillPop: () async => false,
      child: Scaffold(
        appBar: AppBar(
          title: const Text('Conversations'),
          actions: const [HomePagePopupMenuButton()],
        ),
        body: ZIMKitConversationListView(
          onPressed: (context, conversation, defaultAction) {
            Navigator.push(context, MaterialPageRoute(
              builder: (context) {
                return ZIMKitMessageListPage(
                  conversationID: conversation.id,
                  conversationType: conversation.type,
                );
              },
            ));
          },
        ),
      ),
    );
  }
}
Configure your project
Ideally, by this point, your app will look like this:
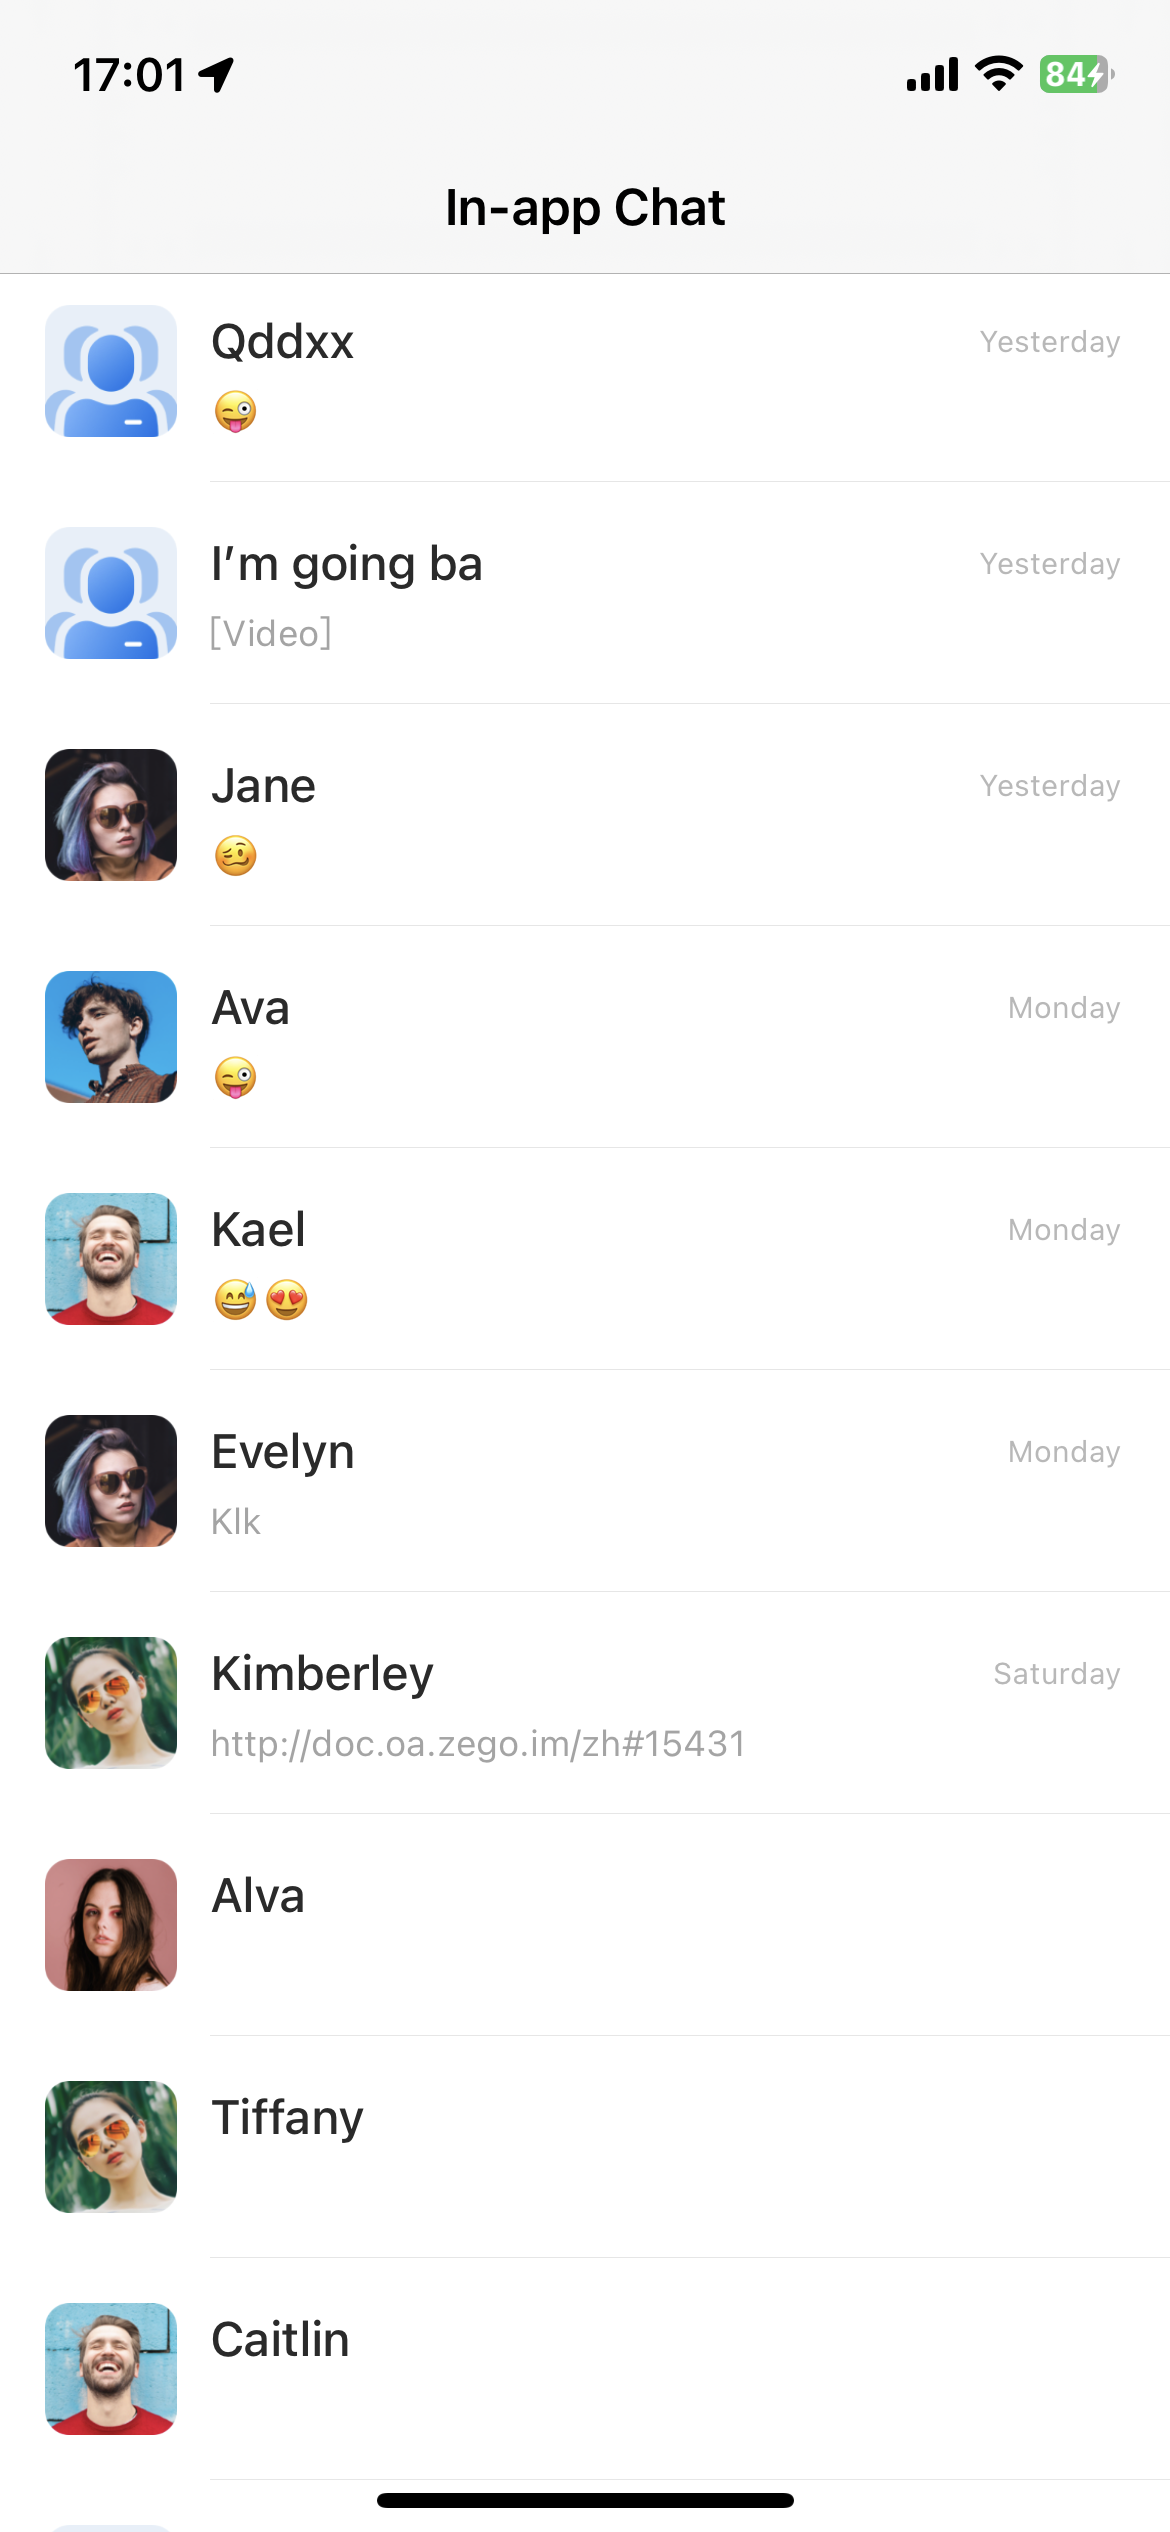
Start a chat
In-app Chat Kit supports the following and this section shows you how to implement those respectively:
Update user's avatar and username
You can use the updateUserInfo method to update the user's avatar and username.
await ZIMKit().updateUserInfo(avatarUrl: avatarUrl, name: name);
More to explore
Click here to explore more UI components.
A quick guide to help you run the sample code.
Get support
Need help or want to raise your questions? Click the button below to join our Discord community to get quick responses.