Sample code
Here we provide you with a sample application to experience ZEGOCLOUD's In-app Chat, and also describe how to run the sample code.
Prepare the enviroment
- Android Studio 2.1 or later.
Note
- When you compile the sample code for the first time, if you do not have the corresponding dependent library or build tool, Android Studio will automatically download the required dependency files. This may take a while for you to wait.
- We recommend you download the specified
gradleand required dependencies. To download, go to Gradle Services. Thegradlewe use in the sample code are as follows:- gradle: 4.6 (check it in the
project/gradle/wrapper/gradle-wrapper.propertiesfile). - gradle Android plug-in: 3.2.1 (check it in the
project/build.gradlefile).
- gradle: 4.6 (check it in the
- Android SDK Packages: Android SDK 28, Android SDK Platform-Tools 28.x.x or later.
- An Android device or Simulator that is running on Android 4.1 or later and supports audio and video. We recommend you use a real device (Remember to enable the USB debugging).
- The Android device is connected to the internet.
Prerequisites
- Go to ZEGOCLOUD Admin Console, and do the following:
- Create a project, get the AppID and AppSign.
- Subscribe to the In-app Chat service (contact us if the subscription doesn't go well).
For SDK 2.3.0 or later, the AppSign authentication mode and Token-based authentication mode are both supported.
If you want to change your authentication mode, please refer to the Upgrade the authentication mode from using the AppSign to Token.
Get the sample code
The following structure shows the subdirectory structure of the sample code:
.
├── app
│   ├── agconnect-services.json
│   ├── build
│   │   ├── generated
│   │   ├── intermediates
│   │   ├── outputs
│   │   └── tmp
│   ├── build.gradle
│   ├── libs
│   │   ├── MiPush_SDK_Client_4_9_1.jar
│   │   ├── VERSION.txt
│   │   ├── ZIM.jar
│   │   ├── arm64-v8a
│   │   ├── armeabi-v7a
│   │   ├── pushOpenClient_v3.0.0.4_484_81c1f83_release.jar
│   │   ├── x86
│   │   ├── x86_64
│   │   └── zpns-release.aar
│   ├── proguard-rules.pro
│   ├── src
│   │   └── main
│   └── zim_example_key.jks
├── build.gradle
├── gradle
│   └── wrapper
│       ├── gradle-wrapper.jar
│       └── gradle-wrapper.properties
├── gradle.properties
├── gradlew
├── gradlew.bat
├── local.properties
└── settings.gradle
Run the sample code
-
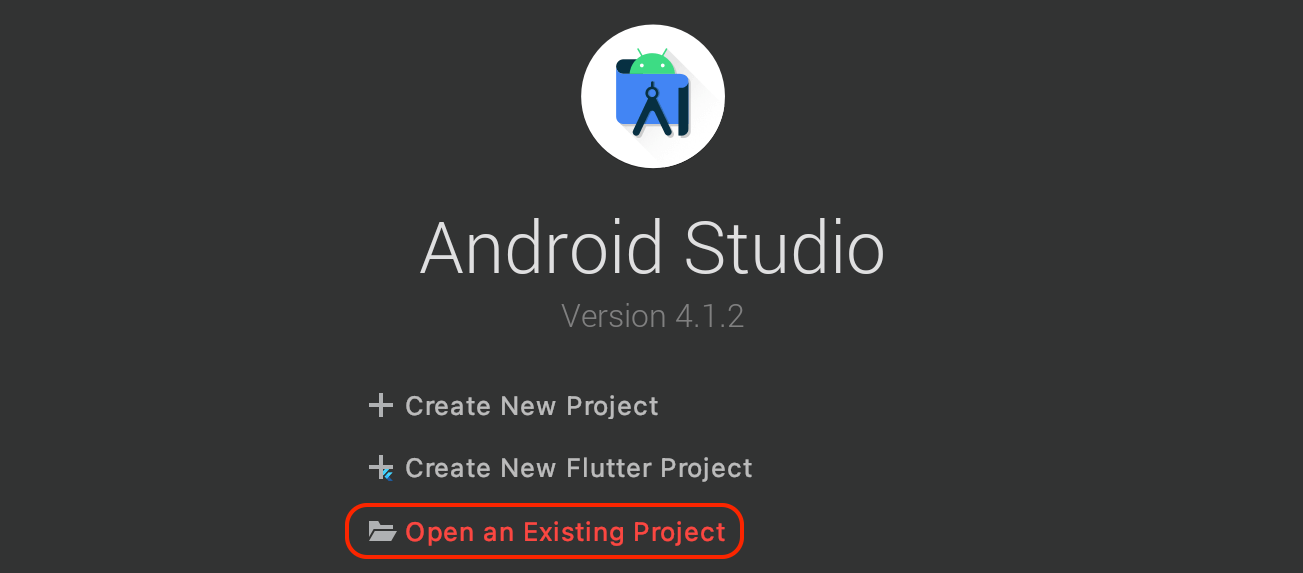
In Android Studio, click Open an Existing Project.
-
Open the
ZIMExampleJavafolder in the unzipped sample code package.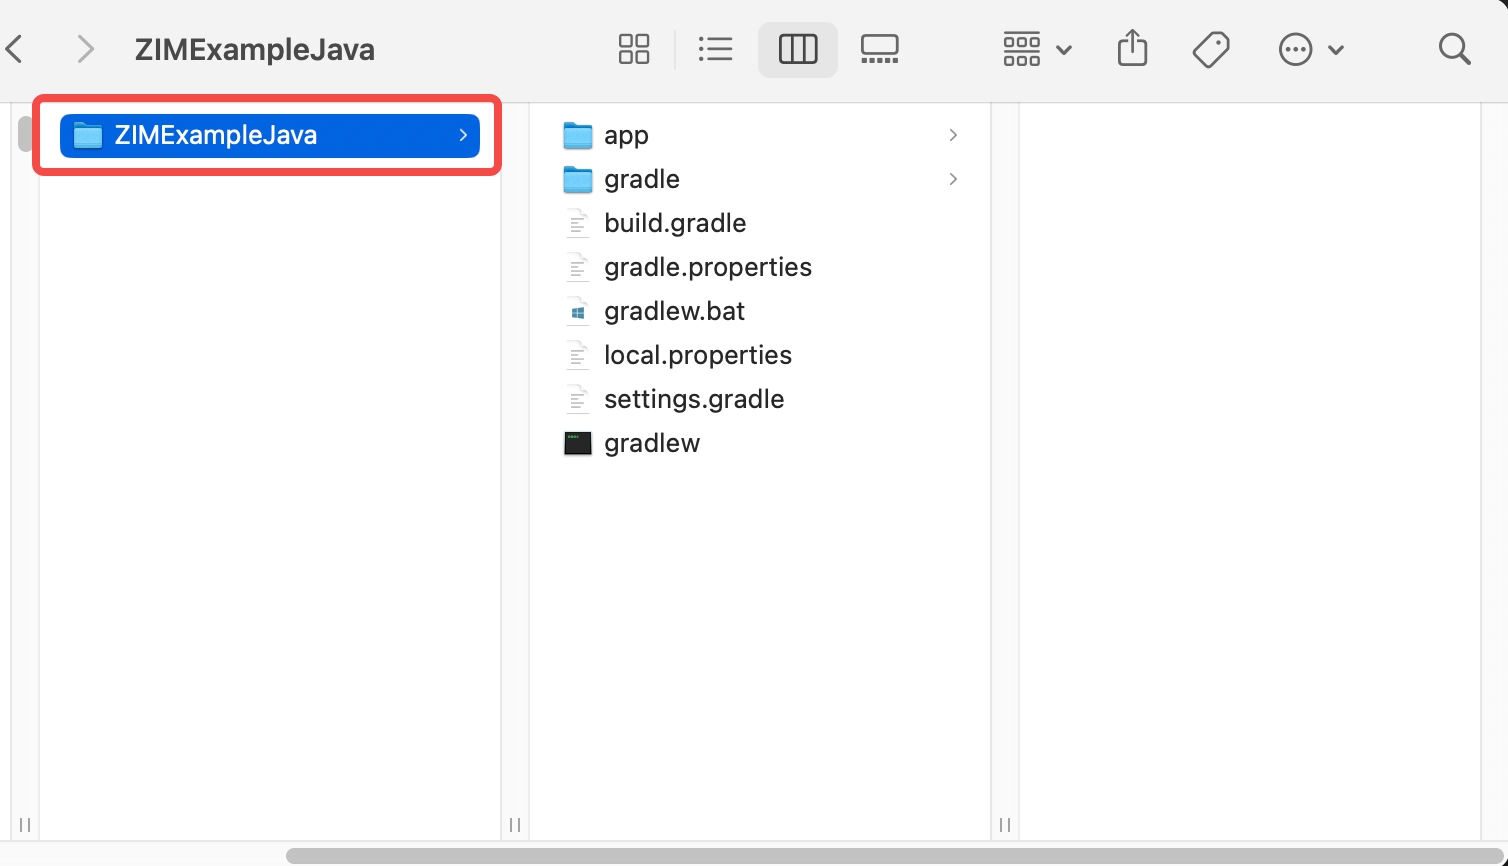
-
Go to the SDK downloads to download the latest version of SDK, copy the unzipped SDK package file to the
app/jniLibs/release/directory. -
Modify the
KeyCenter.javafile under theZIMExample/app/src/main/java/im/zego/zimexamplefolder with the appID and appSign (remember to add a "L" after the AppID) that you get in the Prerequisites steps.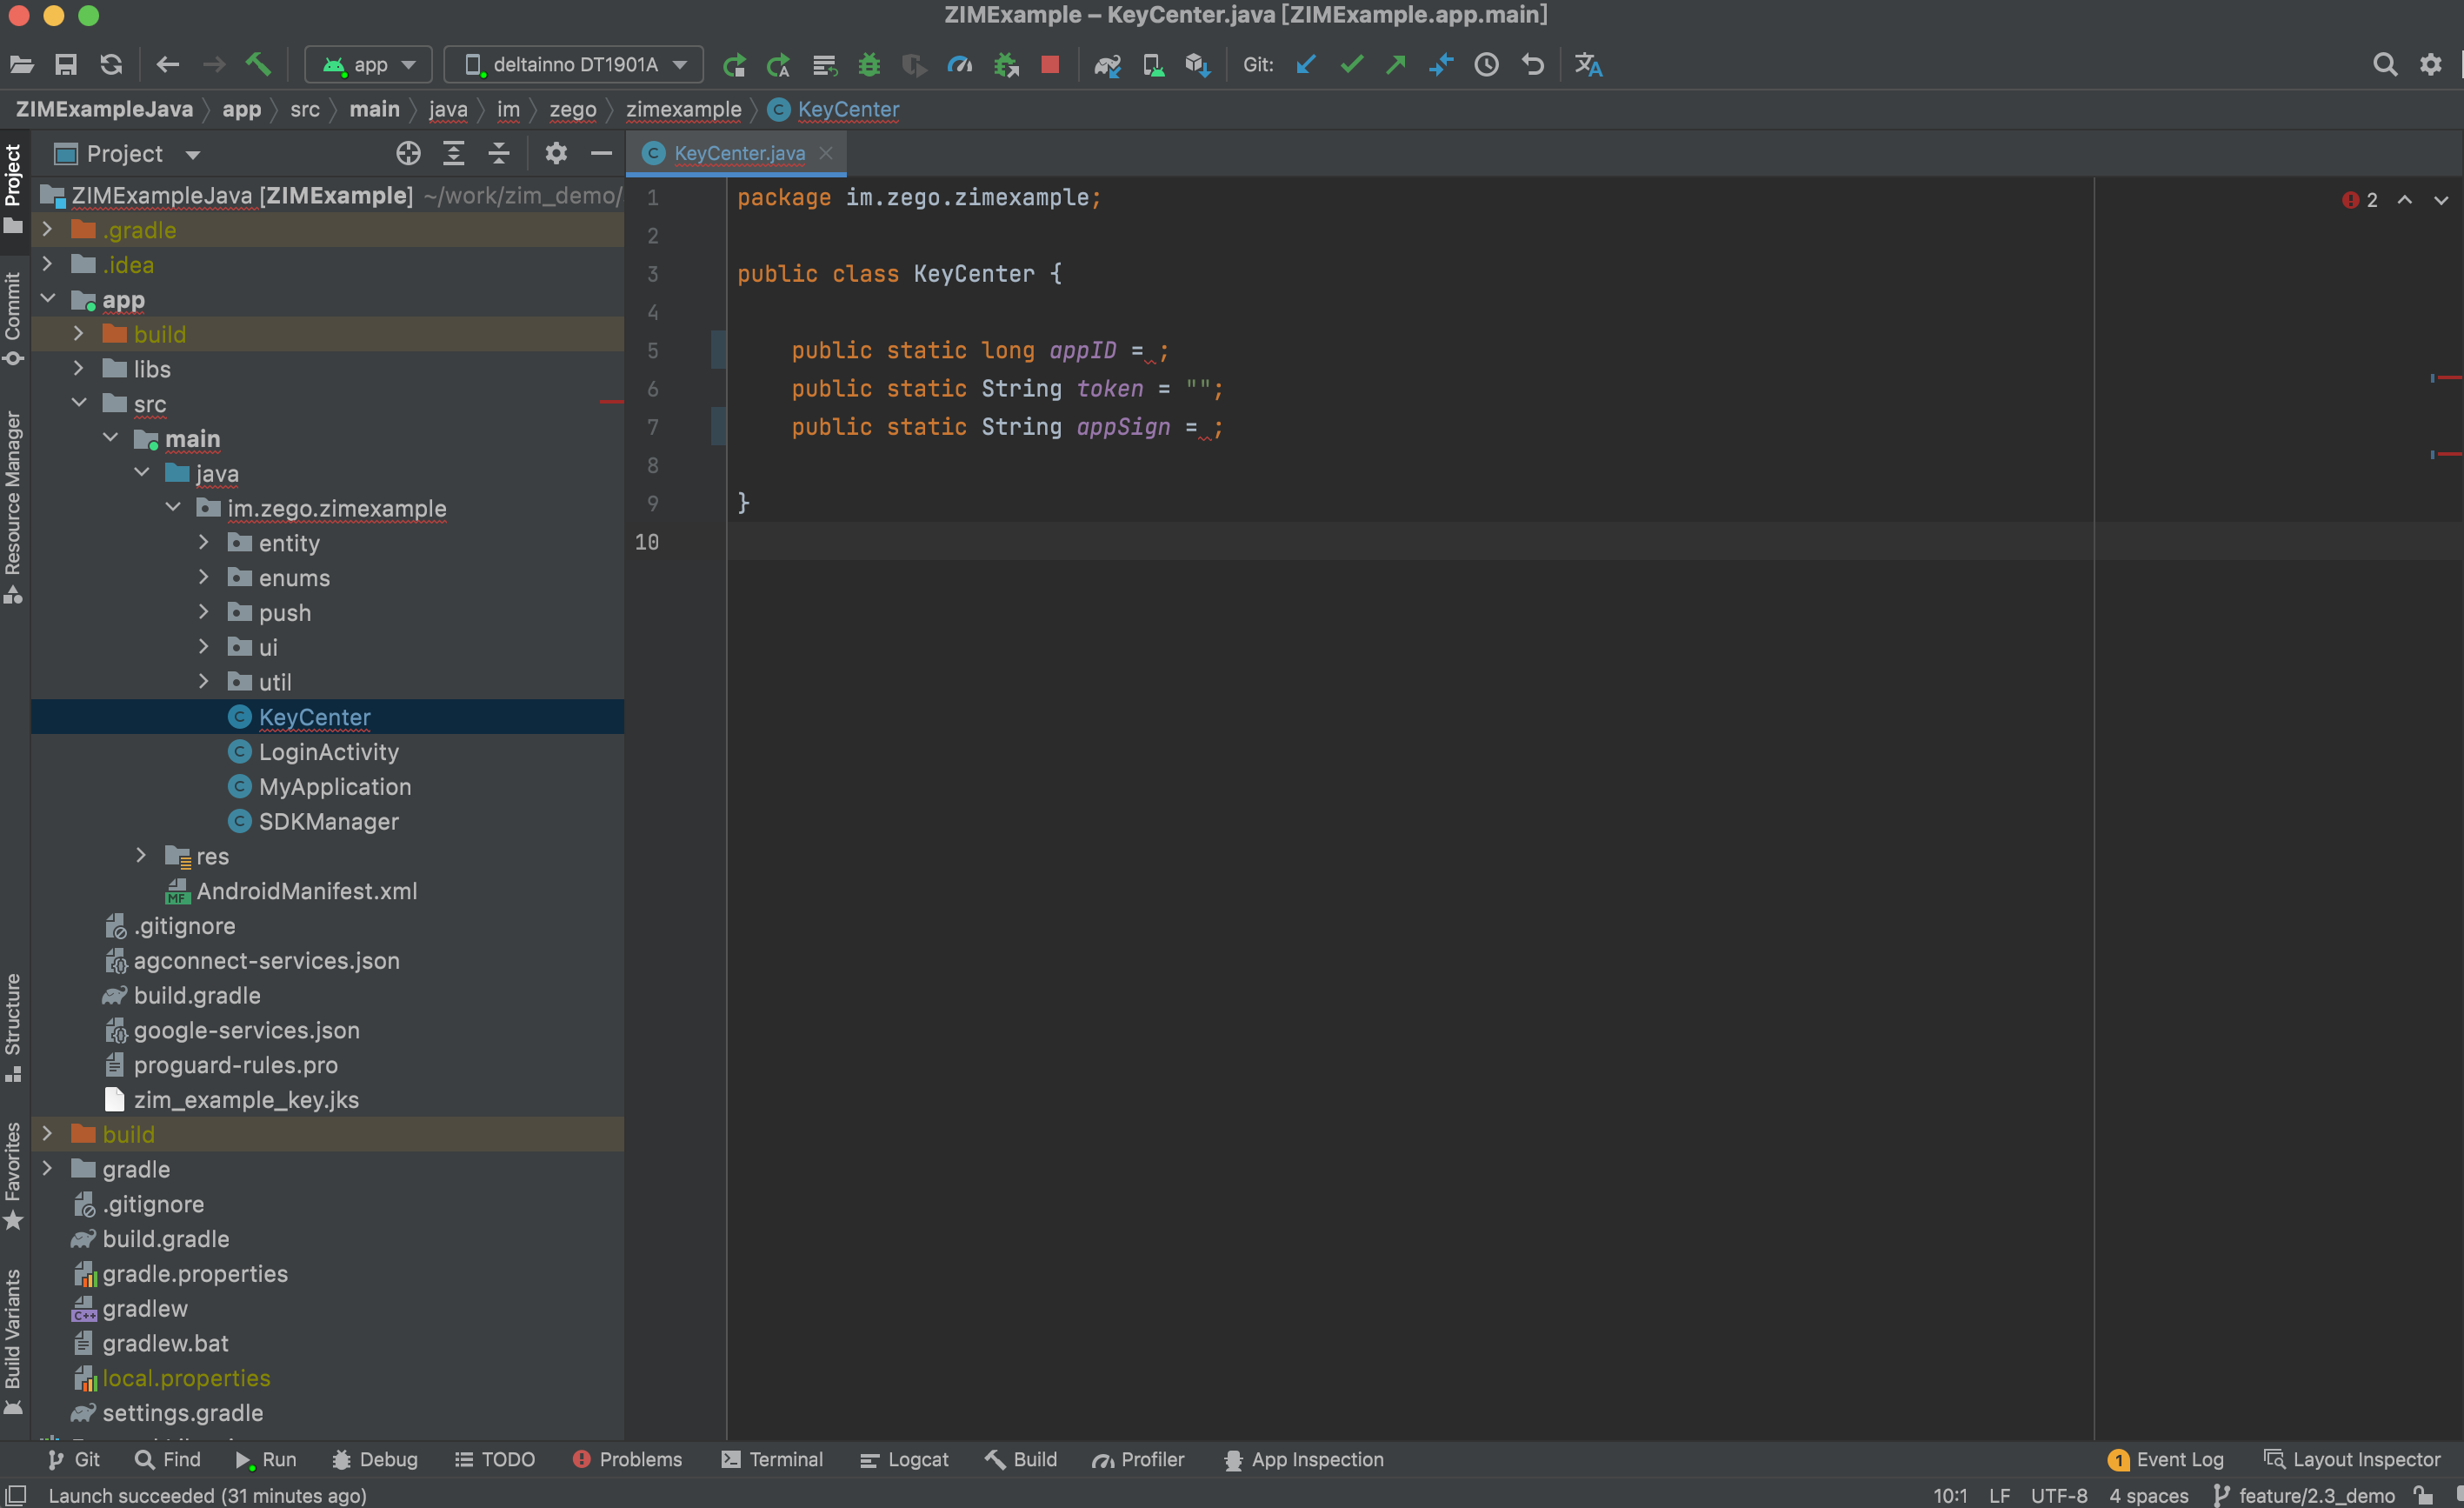
-
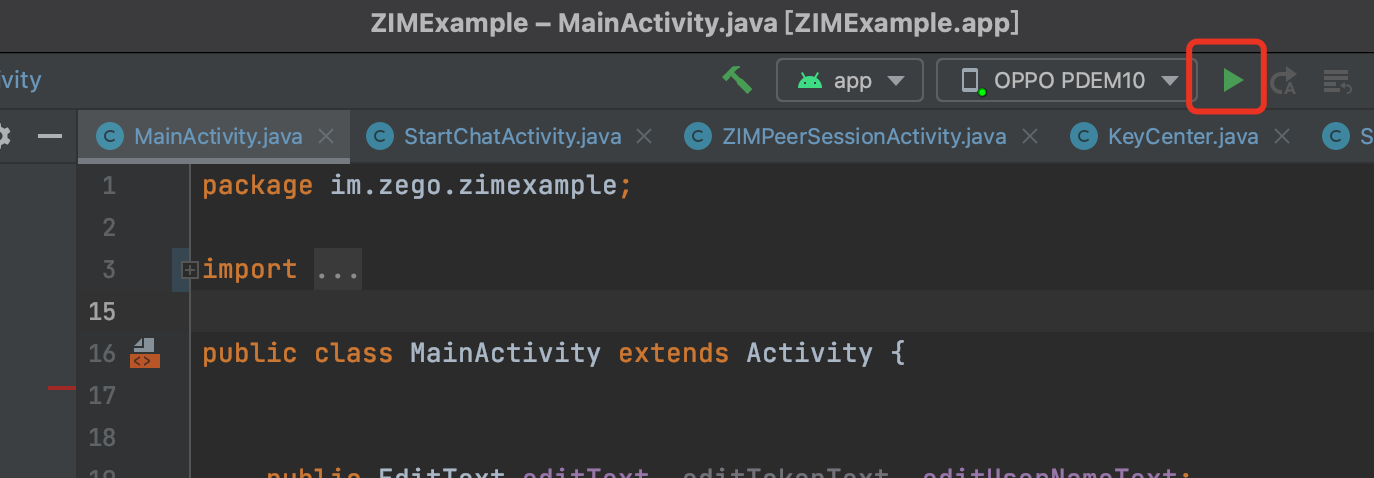
Connect the Android device to your computer, after you enabled the developer mode and USB debugging on the device, the option box in the upper place of Android Studio changes like the following, which means you are ready to run the sample code on the Android device.
Before:

After:
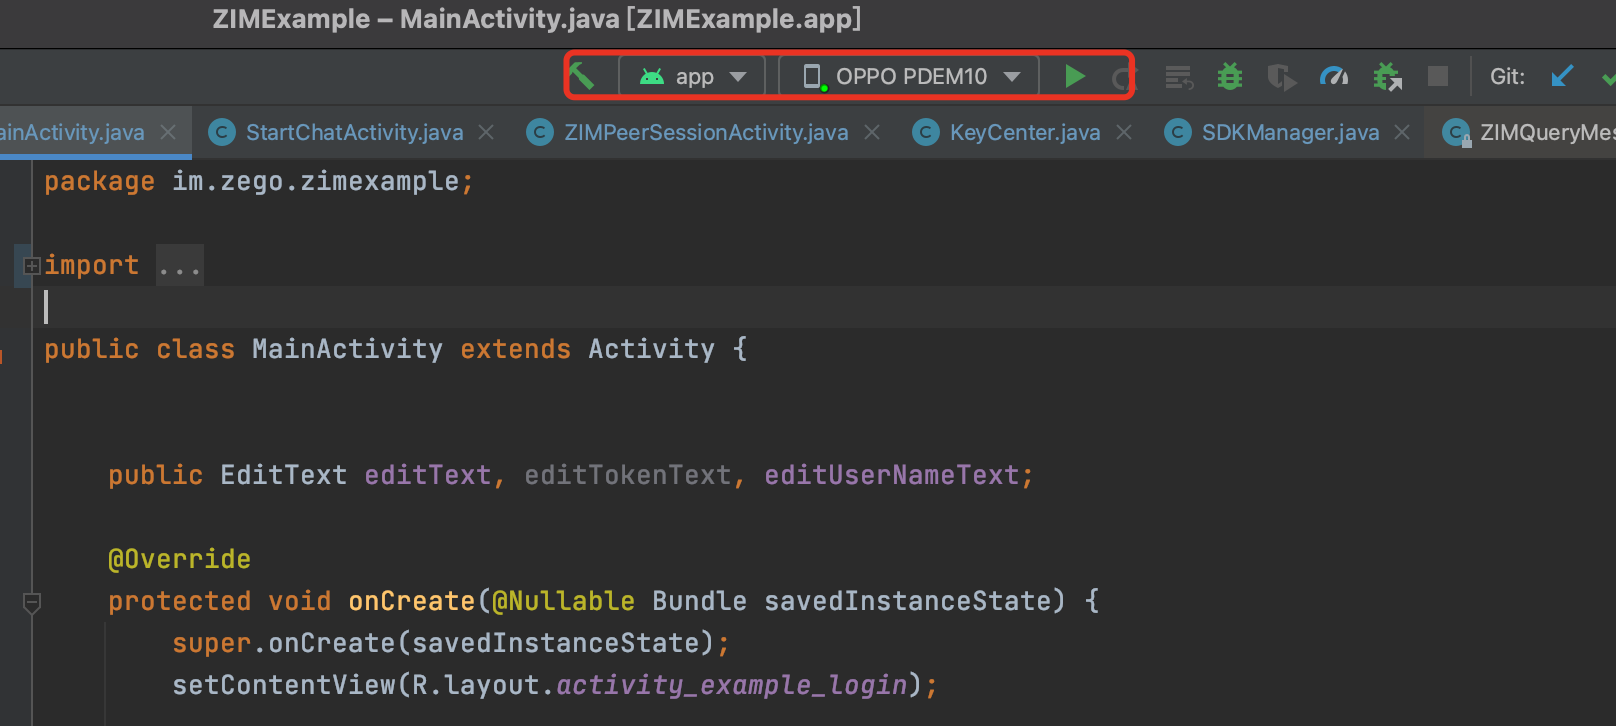 Note
Note- When you connect your PC to an Android device, a message will pop up on most devices. The message varies according to Android vendors. You can select USB mode according to the actual situation.
- After the Android device is connected to your computer, you will need to enable the developer mode and USB debugging on the device based on the actual situation. You can search for specific enabling methods by yourself.
-
Click the Run button to run the sample code and experience the In-app Chat service.
