

Send and receive messages
This document describes how to use the ZIM SDK (In-app Chat) to send and receive messages.
Solution
The following shows the access solution that the ZIM SDK provides.
In this solution, you will need to implement the following business logic based on your actual business requirements:
- The logic for managing the users on the client, and the logic for distributing user ID for users to log in.
Prerequisites
Before you begin, make sure:
- Flutter has been installed.
- Dart has been installed and the version is [2.12.0, 4.0.0).
- The test device meets the following requirements:
- iOS device or simulator with iOS 11.0 or above (real device is recommended).
- Android device or simulator with Android 4.1 or above (real device is recommended). If it is a real device, please turn on the "Allow debugging" option.
- Windows: Windows 10 or above (64-bit operating system based on x86-64).
- macOS: macOS 10.13 or above.
- Web browser:
- Chrome 58 or above
- Firefox 56 or above
- Safari 11 or above
- Opera 45 or above
- QQ Browser Windows 10.1 or above/macOS 4.4 or above
- 360 Security Browser Speed Mode
- The device is connected to the Internet.
- Go to ZEGOCLOUD Admin Console, and do the following:
- Create a project, get the AppID and AppSign.
- Subscribe to the In-app Chat service (contact us if the subscription doesn't go well).
For SDK 2.3.0 or later, the AppSign authentication mode and Token-based authentication mode are both supported.
If you want to change your authentication mode, please refer to the Upgrade the authentication mode from using the AppSign to Token.
Integrate the SDK
Optional: Create a project
Skip this step if a project already exists.
Import the SDK
- Open the
pubspec.yamlfile, add thezego_zimdependencies as follows:
 dependencies:
         # Please fill in the specific SDK version number.
         # Please query the latest SDK version from the release log and modify x.y.z to the specific version number.
         zego_zim: ^x.y.z
-
After adding and saving the file, run the command
flutter pub getin the terminal. -
If you are configuring a Web platform, then you will need to in your
index.htmlfile, add the following to import the Web SDK.Untitled<script src="assets/packages/zego_zim/assets/index.js" type="application/javascript"></script>1
Set permissions
-
For iOS, Web: no special permissions need to be set.
-
For Android: Go to the
app/src/maindirectory, in theAndroidManifest.xmlfile, add the permissions.Untitled<!-- The permissions required by SDK--> <uses-permission android:name="android.permission.ACCESS_WIFI_STATE" /> <uses-permission android:name="android.permission.INTERNET" /> <uses-permission android:name="android.permission.ACCESS_NETWORK_STATE" />1
Prevent code obfuscation
When building your Android app with Flutter, to prevent obfuscation of the SDK public class names, in your project's proguard-rules.pro file, add the following:
-keep class **.zego.**{*;}
Implementation steps
Import the header file
Import the header file zego_zim.dart.
import 'package:zego_zim/zego_zim.dart';
Create a ZIM SDK instance
Creating a ZIM instance is the very first step, an instance corresponds to a user logging in to the system as a client.
So, let's suppose we have two clients now, client A and client B. To send and receive messages to each other, both of them will need to call the create method with the AppID and AppSign (for Web, AppSign is not required) you get in the previous Prerequisites steps to create a ZIM SDK instance of their own:
// Create a ZIM SDK instance.
//Create a ZIM SDK instance and pass in the AppID and AppSign.
ZIMAppConfig appConfig = ZIMAppConfig();
appConfig.appID = appID;
appConfig.appSign = appSign;

ZIM.create(appConfig);
Set up the ZIMEventHandler and listen for related event callbacks
Before a client user's login, you will need to call the ZIMEventHandler method to implement a static Function object that contains various event callbacks of the ZIMEventHandler. And you can receive callback notifications when SDK errors occur or receive message with the Function passed in.
implement the methods involved in the protocol to receive callbacks (you can customize the event callbacks, such as you can receive callback notifications when SDK errors occur or receive message-related callback notifications).
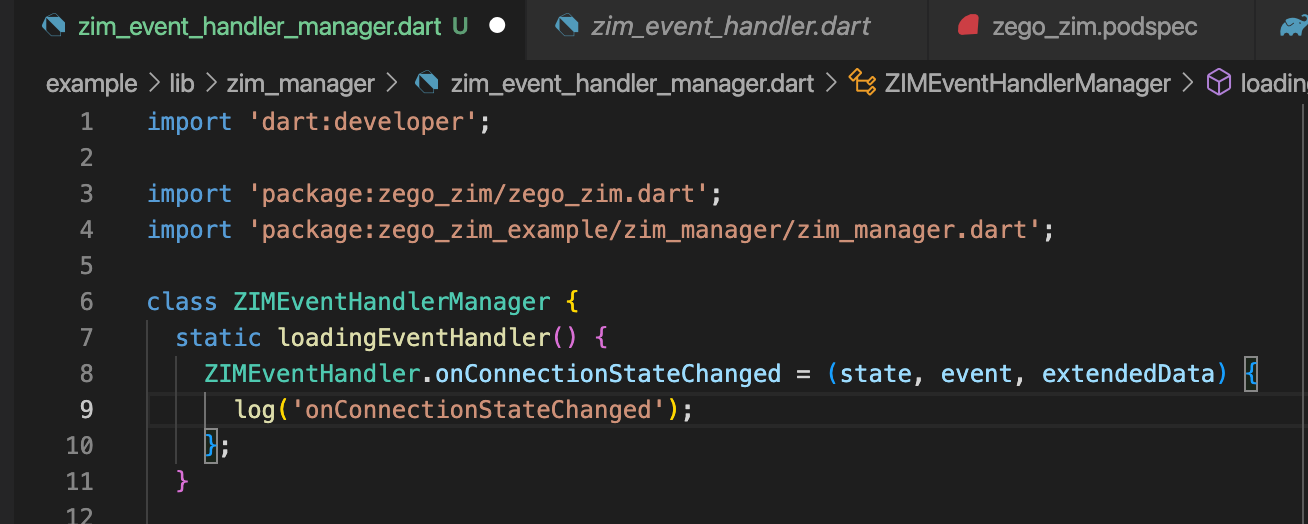
The following is the sample code for changing the connection status changes in the zim_event_handler_manager.dart file:
// The callback for receiving error codes. This callback will be triggered when SDK returns error codes.
static void Function(ZIMError errorInfo)? onError;

// Used to remind that the token is about to expire. Developers can use this callback to listen to notifications that the token is about to expire and customize the UI state to deal with this event.
static void Function(ZIM zim, int second)? onTokenWillExpire;

// The callback for connection status changes. This callback will be triggered when the connection status changes, and you can customize a UI for this event.
static void Function(ZIMConnectionState state, ZIMConnectionEvent event, Map extendedData)? onConnectionStateChanged;

// The callback for receiving one-on-one messages. You can receive message notifications through this callback after login.
static void Function(ZIM zim, List<ZIMMessage> messageList, ZIMMessageReceivedInfo info, String fromUserID)? onPeerMessageReceived;
For more detailed description for methods, refer to onError, onTokenWillExpire, onConnectionStateChanged, onPeerMessageReceived.
Log in to the ZIM SDK
After creating an instance, clients A and B need to log in to ZIM before they can start sending, receiving messages, updating tokens, etc.
Call the login interface and pass in the userID and login configuration ZIMLoginConfig object to log in.
- "userID" and "userName" support custom rules generated by developers. It is recommended that developers set "userID" to a meaningful value and associate it with their own business account system.
- For SDK version
2.3.0or above, the default authentication method is "AppSign authentication", and noTokenneeds to be passed in when logging in to ZIM. - If you are using "Token authentication", please refer to the Authentication document to obtain the Token and pass it as an optional parameter when logging in to ZIM. Only after the authentication is successful can you log in successfully.
// If using Token authentication, developers need to fill in the Token generated according to the "Authentication" document. For details, please refer to the "Authenticate users with tokens" document; when developing web platform applications, only Token authentication is supported.
// If using AppSign authentication (default authentication method for version 2.3.0 or above), leave the Token parameter as an empty string.

try {
    ZIMLoginConfig loginConfig = ZIMLoginConfig();
    // The user's nickname, leave it blank if you don't want to modify the user's nickname
    loginConfig.userName = 'userName';
    // If using Token authentication, please fill in this parameter; otherwise, leave it blank
    loginConfig.token = '';
    // Whether this login is an offline login, please refer to the offline login related documents for details
    loginConfig.isOfflineLogin = false;
    await ZIM.getInstance()?.login('zego', loginConfig);
    // Login successful, write the business logic for successful login
} on PlatformException catch (onError) {
    // Login failed
    // Error code for login failure, please refer to the error code document for handling
    onError.code;
    // Error message for login failure
    onError.message;
}
Send messages
Client A can send messages to client B after logging in successfully.
Currently, the supported message types in ZIM are as follows:
| Message Type | Description | Feature and Scenario |
|---|---|---|
| ZIMCommandMessage(2) | The signaling message whose content can be customized. A signaling message cannot exceed 5 KB in size, and up to 10 signaling messages can be sent per second per client. | Signaling messages, unable to be stored, are applicable to signaling transmission (for example, co-hosting, virtual gifting, and course materials sending) in scenarios with a higher concurrency, such as chat rooms and online classrooms. Higher concurrency is supported, but it's unreliable: it does not ensure message delivery and order. API: sendMessage |
| ZIMBarrageMessage(20) | On-screen comments in a chat room. An on-screen comment cannot exceed 5 KB in size, and there is no number limit on comments that can be sent per second per client. | On-screen comments, unable to be stored are usually unreliable messages that are sent at a high frequency and can be discarded. A high concurrency is supported, but it's unreliable: it does not ensure message delivery. API: sendMessage |
| ZIMTextMessage(1) | The text message. The default upper limit of message size is 2 KB. If necessary, please contact ZEGOCLOUD technical support for configuration, with a maximum size of up to 32 KB. Up to 10 text messages can be sent per second per client. | Text messages are reliable, in order, and able to be stored as historical messages. (For the storage duration, please refer to Pricing - Plan Fee - Plan Differences).
API: sendMessage、replyMessage |
| ZIMMultipleMessage(10) | Multi-item message, a message that can include multiple texts, up to 10 images, 1 file, 1 audio, 1 video, and 1 custom message. Note
| |
| ZIMImageMessage(11) | Image message. Applicable formats includes JPG, PNG, BMP, TIFF, GIF, and WebP. The maximum size is 10 MB. Up to 10 image messages can be sent per second per client. | |
| ZIMFileMessage(12) | File Message. A file message contains a file of any format and cannot exceed 100 MB in size. Up to 10 file messages can be sent per second per client. | |
| ZIMAudioMessage(13) | Audio message. An audio message contains an MP3 or M4A audio of up to 300 seconds and cannot exceed 6 MB in size. Up to 10 audio messages can be sent per second per client. | |
| ZIMVideoMessage(14) | A video message contains an MP4 or MOV video and cannot exceed 100 MB in size. Up to 10 video messages can be sent per second per client. Note To retrieve the width and height of the first video frame after a video is successfully sent, the video must be encoded in H.264 or H.265. | |
| ZIMCombineMessage(100) | For combined messages, there is no limit on message size, and the sending frequency of a single client is limited to 10 times/second. | |
| ZIMCustomMessage(200) | You can customize the message type and parse the message without using the ZIM SDK. The default upper limit of message size is 2 KB. If necessary, please contact ZEGOCLOUD technical support for configuration, with a maximum size of up to 32 KB. |
To send one-to-one messages, for example, if client A wants to send a message to client B, then client A needs to call the sendMessage method with client B's userID, message content, and the message type ZIMConversationType. And client A can be notified whether the message is delivered successfully through the callback ZIMMessageSentResult.
- onMessageAttached callback: The callback on the message not sent yet. Before the message is sent, you can get a temporary ZIMMessage message for you to implement your business logic as needed. For example, you can get the ID of the message before sending it. Or when sending a message with large content, such as a video, you can get the localMessageID of the message before the message is uploaded to implement a Loading UI effect.
// The following shows how to send one-to-one message, the [conversationType] needs to be set to ZIMConversationType.peer.
ZIMTextMessage textMessage = ZIMTextMessage(message: "message");
ZIMMessageSendConfig sendConfig = ZIMMessageSendConfig();
// Set priority for the message
sendConfig.priority = ZIMMessagePriority.low;

ZIMPushConfig pushConfig = ZIMPushConfig();
pushConfig.title = "Title of the offline push";
pushConfig.content = "Content of the offline push";
pushConfig.extendedData = "Extended info of the offline push";
sendConfig.pushConfig = pushConfig;
ZIMMessageSendNotification notification = ZIMMessageSendNotification(onMessageAttached: (message){
    //  The callback on the message not sent yet. You can get a temporary object here and this object must be the same as that created zimMessage object. You can make your own business logic using this as needed, for example, display a UI ahead of time.
});

// Set message type.
ZIMConversationType type = ZIMConversationType.peer;

ZIM.getInstance()!.sendMessage(textMessage, toConversationID, type, sendConfig).then((value) => {
    // The callback on the results of message sending.
}).catchError((onError){
    // This callback can be used to catch the reason for message sending failure.
});
Receive messages
After client B logs in, he will receive client A's message through the callback onReceivePeerMessage which is already set in the ZIMEventHandler method.
When a message is received, you need to determine whether the message is a Text message or a Command message because these two message types are based on the basic message. You need to convert the basic message class to a concrete message type and then retrieve the message content from the Message field.
ZIMEventHandler.onReceivePeerMessage = (messageList, fromUserID) {
    //Receives the messageList from fromUserID.
    //This callback will be triggered when receiving one-to-one messgaes.
    for (ZIMMessage message in messageList) {
        switch (message.type) {
            case ZIMMessageType.text:
                message as ZIMTextMessage;
                break;
            case ZIMMessageType.command:
                message as ZIMCommandMessage;
                break;
            case ZIMMessageType.image:
                message as ZIMImageMessage;
                break;
            case ZIMMessageType.file:
                message as ZIMFileMessage;
                break;
            default:
        }
    }
};
Log out
For a client to log out, call the logout method.
ZIM.getInstance().logout();
Destroy the ZIM SDK instance
To destroy the ZIM SDK instance, call the destroy method.
ZIM.getInstance().destroy();